Important: This guide explains visual simulation. It does not diagnose a condition or recommend treatment.
Key takeaways
- Use an AI veneer preview to compare preferences, not to decide whether veneers are appropriate.
- Fit and proportion come before tooth shape; tooth shape comes before shade and surface finish.
- The number of teeth shown in a digital design is a visual comparison setting—not a clinical veneer count.
- Save the original, a restrained concept and a brighter alternative so a dentist can see what changed and why.
What does 'AI veneer smile makeover' actually mean?
The phrase AI veneer smile makeover is used for several different kinds of software. One tool may detect the face and mouth before placing editable tooth templates. Another may segment teeth and lips. A generative system may redraw part—or all—of the photograph. Those approaches can produce very different levels of control and reliability.
Try a New Smile uses local facial-landmark analysis to help position an editable 2D dental design. It does not decide that you need veneers, diagnose a dental condition or create a clinical treatment plan. The purpose is narrower and more useful: compare visible smile directions while preserving the original face and photograph.
That distinction matters. A visually convincing image answers 'Which direction do I prefer?' It cannot answer 'Is this safe, feasible or the best treatment for me?'
Begin with the question behind the makeover
Before moving a slider, write down the feature you want to explore. A vague goal such as 'perfect teeth' usually leads to a uniform, over-bright design. A specific question produces a more informative comparison.
- Would softer or more defined tooth corners suit my expression?
- Do I prefer a warmer natural white or a clearly brighter direction?
- Would slightly longer central incisors improve the smile balance?
- Does the visible tooth line feel too flat, too curved or already harmonious?
- Am I reacting to tooth colour, tooth proportion, spacing—or all three?
Step 1: fit the design before judging it
A good veneer preview starts with alignment, not whitening. Position the dental midline near the visible centre of the smile, then adjust overall width, height, rotation and lip fit. If the design floats across the lips or ignores the original perspective, no tooth library will make it believable.
Use a level, front-facing photograph in soft light. A tilted head, stretched smile or close wide-angle selfie can change the apparent width and position of the teeth. If automatic fitting confidence is limited, retake the photograph rather than forcing large corrections.
Turn on the dental midline and smile guides while fitting, then turn them off before making an aesthetic judgment. Guides are alignment aids; they are not measurements or clinical records.
Step 2: compare visible veneer count carefully
A digital simulator may let you display 4, 6, 8, 10 or 12 veneer-style teeth. This setting controls how much of the visible smile is redesigned. It does not mean that the same number of real teeth should receive veneers.
A four-tooth concept concentrates change around the central and lateral incisors. A wider concept changes more of the visible smile zone and may reduce contrast between designed and untreated teeth in the image. In the mouth, however, the appropriate number depends on the individual smile, tooth condition, treatment goals, bite, material, cost and alternatives.
Save a narrower and a wider concept at the same shade. Compare them at conversational size. If you change count and brightness together, you will not know which difference produced your reaction.
Step 3: shape the central, lateral and canine roles
A natural-looking dental composition is not a row of identical rectangles. The two central incisors usually carry the strongest visual presence, the lateral incisors create transition, and the canines help turn the smile toward the sides.
Use overall tooth-shape libraries as a starting point, then refine central-incisor presence, lateral-incisor length and canine prominence. Rounded transitions may feel softer; straighter edges and more defined corners may feel bolder; tapered forms narrow toward the gum. These are visual descriptions, not rules about gender, age or personality.
Judge the whole expression after every change. A tooth outline that looks attractive in a close-up can dominate the face when the image returns to normal size.
Step 4: refine width, height, smile curve and spacing
Proportion often affects realism more than the selected shape label. Increase width or height in small steps. Watch whether the central teeth become too broad, whether the side teeth feel compressed and whether the lower tooth edges relate naturally to the lower lip.
The smile curve describes the visible line created by the incisal edges. A gentle relationship with the lower lip can feel cohesive, but a flat photograph cannot show jaw movement, speech or every expression. Do not treat a curve setting as a clinical prescription.
Visible spacing also needs restraint. Closing every dark line can turn separate teeth into a solid white block. Keep enough edge definition and tooth-to-tooth variation to preserve the sense of individual teeth.
Step 5: choose shade after the geometry works
Colour is emotionally powerful, so it can hide a weak fit. Keep the original-looking or warm-natural direction while adjusting position and proportion. Only then compare natural white, brighter white and a high-brightness concept.
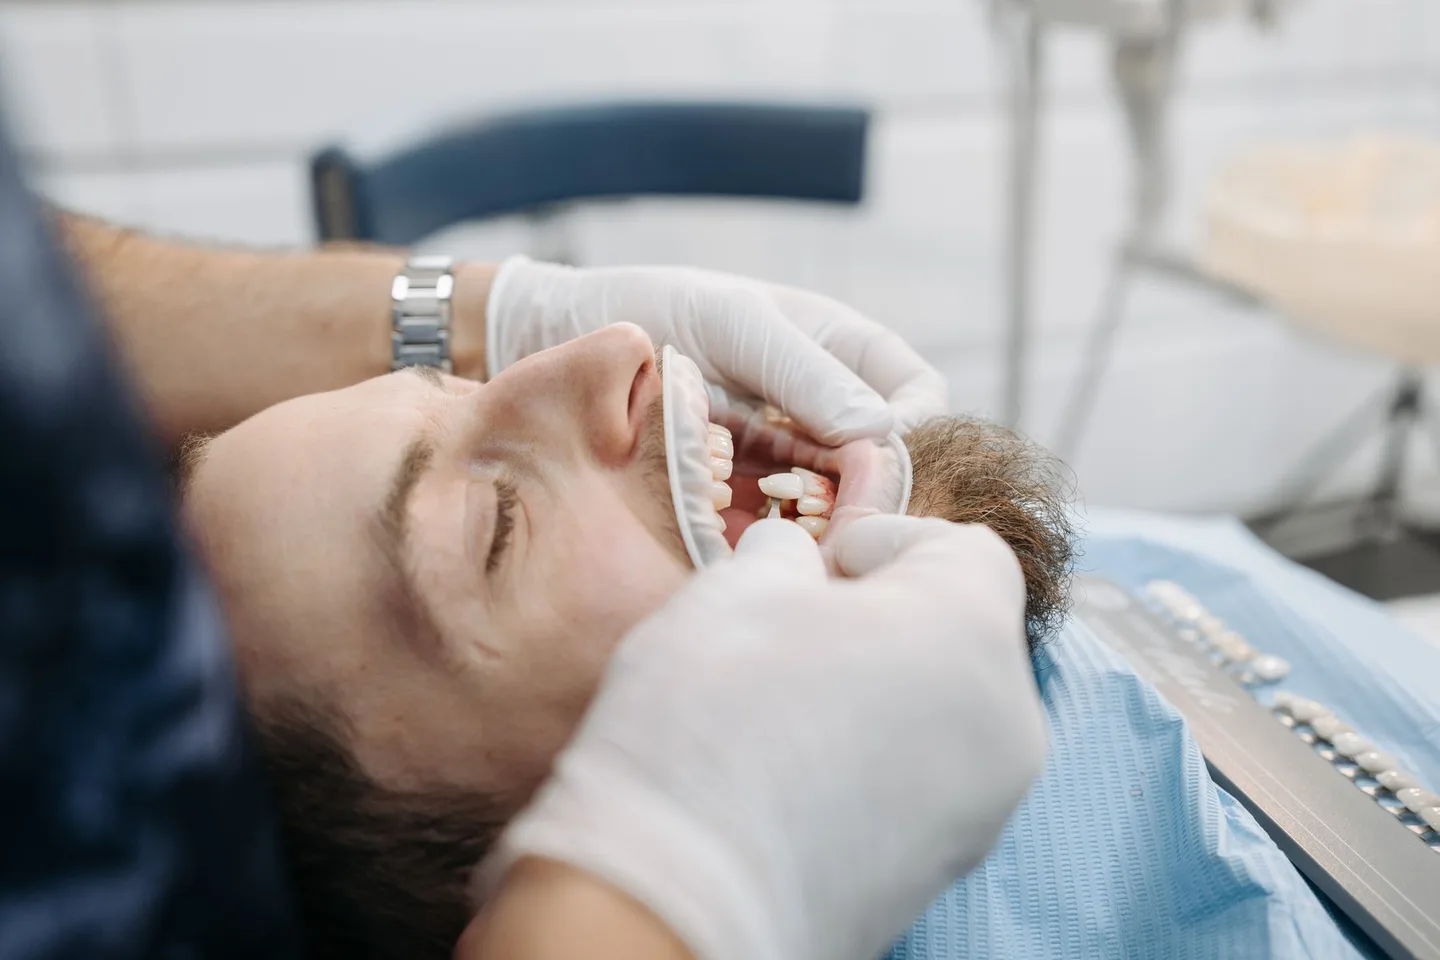
Phone screens do not provide clinical shade matching. Auto-exposure, screen brightness, room light, skin tone, lipstick, image compression and the colour of untreated neighbouring teeth all change the apparent result. A physical veneer also interacts with material thickness, surface texture and the colour underneath.
Use the digital preview to communicate a range—warmer, more neutral or brighter—not an exact material prescription. Final shade decisions belong with real samples, relevant materials and a qualified dental team.
Step 6: add texture, translucency and edge definition
Real teeth and dental materials do not look like flat white stickers. Subtle surface texture breaks up reflections, incisal translucency softens the biting edge and controlled edge definition separates neighbouring teeth.
More is not always better. Excessive texture looks noisy, strong translucency can appear grey, and dark edge shadows can make the design look outlined. Begin near the balanced setting and adjust one finish control at a time while viewing the face at normal size.
The natural-blend control can help the new layer share more light and character with the source photograph. It still cannot simulate the optical behaviour of a specific porcelain or composite material.
Editable simulation versus generative AI
An editable simulator changes a defined dental layer while leaving the rest of the photograph stable. That makes A/B comparisons easier to interpret: if you changed central-tooth length, the rest of the face should remain the same.
Generative AI can blend edges and create photographic detail, but it may also alter lips, gums, skin texture, expression or lighting. When the whole image changes, a more attractive result may reflect unrelated portrait changes rather than the teeth alone.
Whichever system you use, compare the output with the untouched photograph and check for changes outside the intended dental area. A responsible tool should explain its intended use, privacy model and limitations. The American Dental Association's technical work on AI image analysis emphasizes defined use cases, validation, explainability, privacy and continued clinician judgment—even for professional clinical-support systems.
What the photo cannot decide about real veneers
The American Dental Association describes veneers as custom coverings for the front surface of teeth and distinguishes porcelain and composite options. It also notes that veneer treatment can involve enamel removal, is not reversible, and should follow treatment of problems such as decay or gum disease.
A single smile photo cannot show enamel thickness, decay between teeth, gum health, root position, bite forces, grinding, restorative space or whether another approach would preserve more natural tooth structure. It also cannot compare the long-term maintenance of composite and porcelain or predict chipping, wear, debonding and replacement.
Do not use a makeover image to select treatment, accept a quotation or assume that every redesigned tooth needs a veneer. Whitening, orthodontics, composite bonding, selective contouring or no treatment at all may belong in the conversation depending on the individual case.
Turn three saved concepts into a useful consultation
Save an untouched reference and three clearly named concepts: restrained, preferred and deliberately brighter or bolder. Keep the same source photograph and record the visible count, shape and shade used for each version.
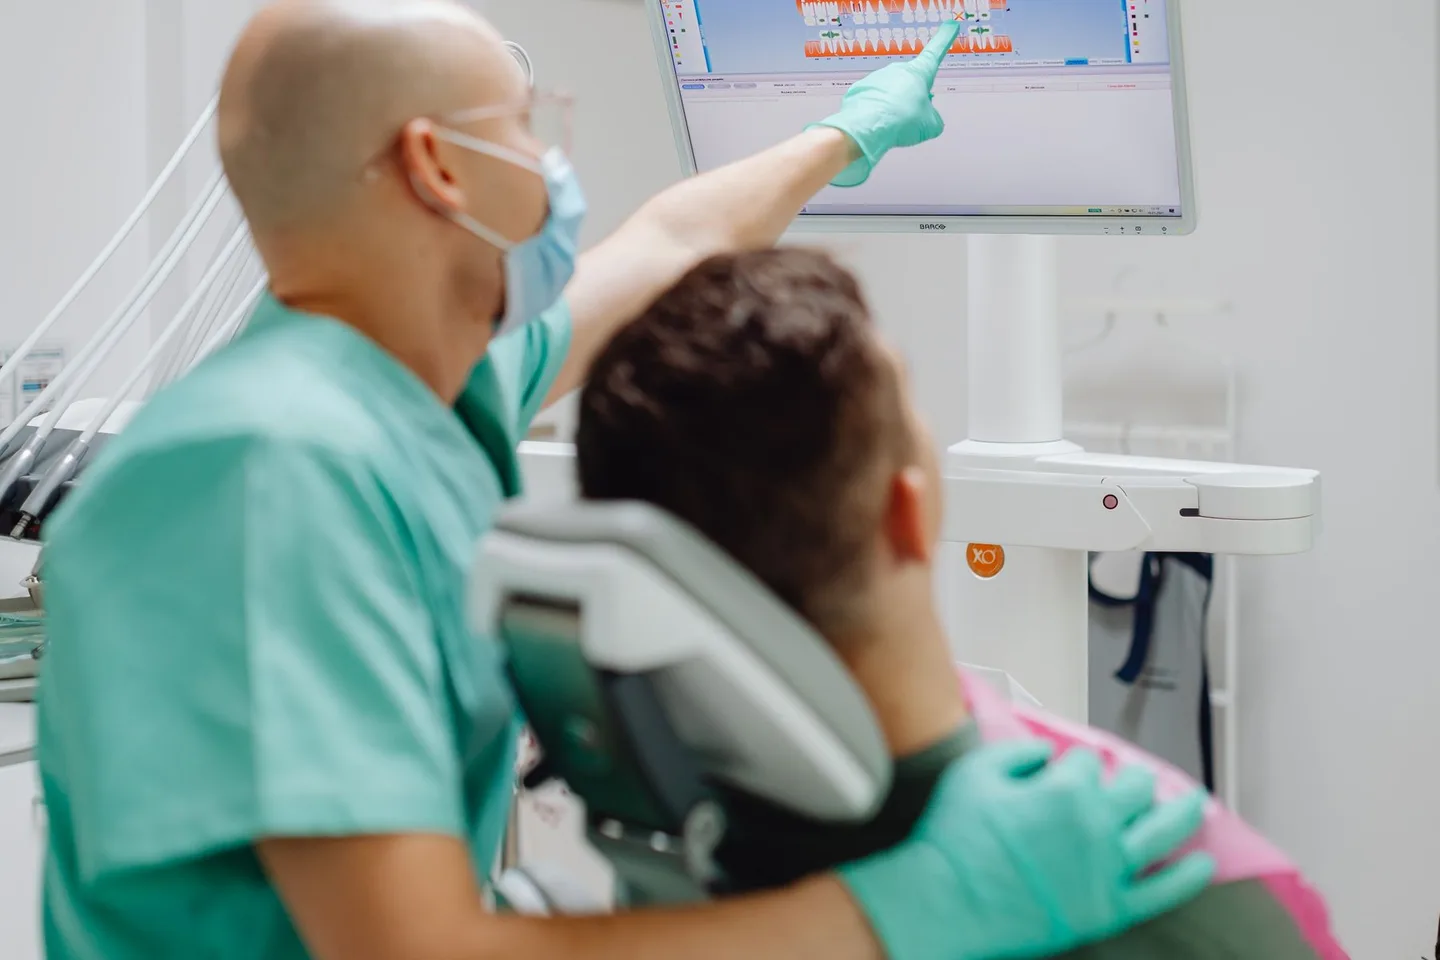
Bring both the version you like and the one you rejected. A professional can often learn more from the contrast than from a single polished image. Ask what could be tested with photographs, scans or a physical mock-up, and which decisions require examination before any irreversible work.
- Which part of this preference is realistic for my existing teeth and gums?
- Could a conservative alternative address the same concern?
- How would a physical mock-up differ from this flat photo preview?
- Which teeth would remain untreated and how would shade transitions be managed?
- What preparation, maintenance, repair and replacement issues apply to the proposed material?
- How will the smile be evaluated in daylight, speech and normal facial movement?
A quick quality check before you share
Look at the final concept on the full face, then briefly zoom into the mouth. The result should remain recognizably you and should not hide the uncertainty of a photo-only preview.
- The lips, skin and expression have not changed unexpectedly.
- The teeth follow the visible perspective instead of sitting as a flat strip.
- Central, lateral and canine teeth do not all have identical outlines.
- Brightness does not erase surface texture or pull attention away from the eyes.
- The image is labelled as a visual concept, not a before-and-after result.
- The original photo is saved beside the concept for an honest comparison.
Sources and further reading
These independent clinical resources were used to check the health information in this guide.
Frequently asked questions
Can AI show exactly what I will look like with veneers?
No. AI or template-based tools can illustrate a visible preference direction, but they cannot predict the clinical result, material behaviour, gum response, bite, preparation or healing.
How many veneers should I select in the simulator?
Use the visible count only to compare how narrow and wide smile-zone concepts look. It is not a recommendation for how many teeth should be treated.
Which veneer shape is best for my face?
There is no universal best shape. Compare restrained variations in central, lateral and canine proportions at normal face size, then discuss what is feasible and conservative for your teeth.
Can the preview choose an exact veneer shade?
No. Screens and photographs alter colour, and real materials respond differently to light. Use the preview to communicate warmer, neutral or brighter preferences rather than an exact prescription.
Is an AI veneer makeover a treatment plan?
No. A treatment plan requires an individual clinical assessment and may require photographs, scans, radiographs and other records chosen by the treating professional.
Does Try a New Smile upload my original photo?
The basic analysis and design run locally in the browser. Upload occurs only if you deliberately create a temporary A/B voting link and consent to sharing the two preview images.
What should I bring to a veneer consultation?
Bring the original photo, two or three clearly different concepts, notes about what changed and questions about alternatives, tooth preparation, material, maintenance and realistic limitations.