Important: This guide explains visual simulation. It does not diagnose a condition or recommend treatment.
Key takeaways
- A teeth simulator is most useful for comparing visible aesthetic directions—not predicting a treatment result.
- Change one feature at a time: first position and proportion, then tooth shape, and shade last.
- Judge every version at normal face size and keep the untouched photograph beside it.
- Try a New Smile creates the first preview locally in the browser; sharing is a separate action that requires consent.
What is an online teeth simulator?
An online teeth simulator is a visual tool that places an editable tooth design into a smile photograph. It can help answer questions such as: Would softer tooth corners suit me? Does a warmer white look more natural? Would slightly longer central teeth change the character of my smile?
The useful word is visual. A simulator works with pixels that can be seen in a photograph. It does not examine enamel, gums, roots, bone, bite or jaw movement, so it cannot diagnose a condition, recommend treatment or guarantee an outcome.
Try a New Smile is a controllable 2D photo simulator rather than an automatic dental diagnosis service. Local face and mouth landmarks help position the editable design, while you remain in control of the visible shape, placement and finish.
What can you change in a smile photo?
A good teeth simulation should let you compare a small number of meaningful variables without regenerating the rest of the face. In the free studio, the original photograph remains the reference while an editable dental layer explores the visible smile zone.
- Overall tooth position: move the design horizontally or vertically and make small rotational corrections.
- Smile width and tooth height: test restrained changes in the visible width-to-length balance.
- Tooth shape: compare softer, balanced, square, tapered and oval directions.
- Visible veneer count: explore 4, 6, 8, 10 or 12 visible teeth without assuming that number is a treatment recommendation.
- Individual proportions: adjust central-incisor presence, lateral-incisor length and canine prominence.
- Smile curve and spacing: compare a flatter or more curved tooth edge and subtle visible spacing.
- Shade and finish: test warm natural through brighter white directions, then refine brightness, warmth, texture, translucency and edge definition.
- Single-tooth or mirrored editing: make a local adjustment or keep corresponding left and right changes linked.
Start with a photo the simulator can read
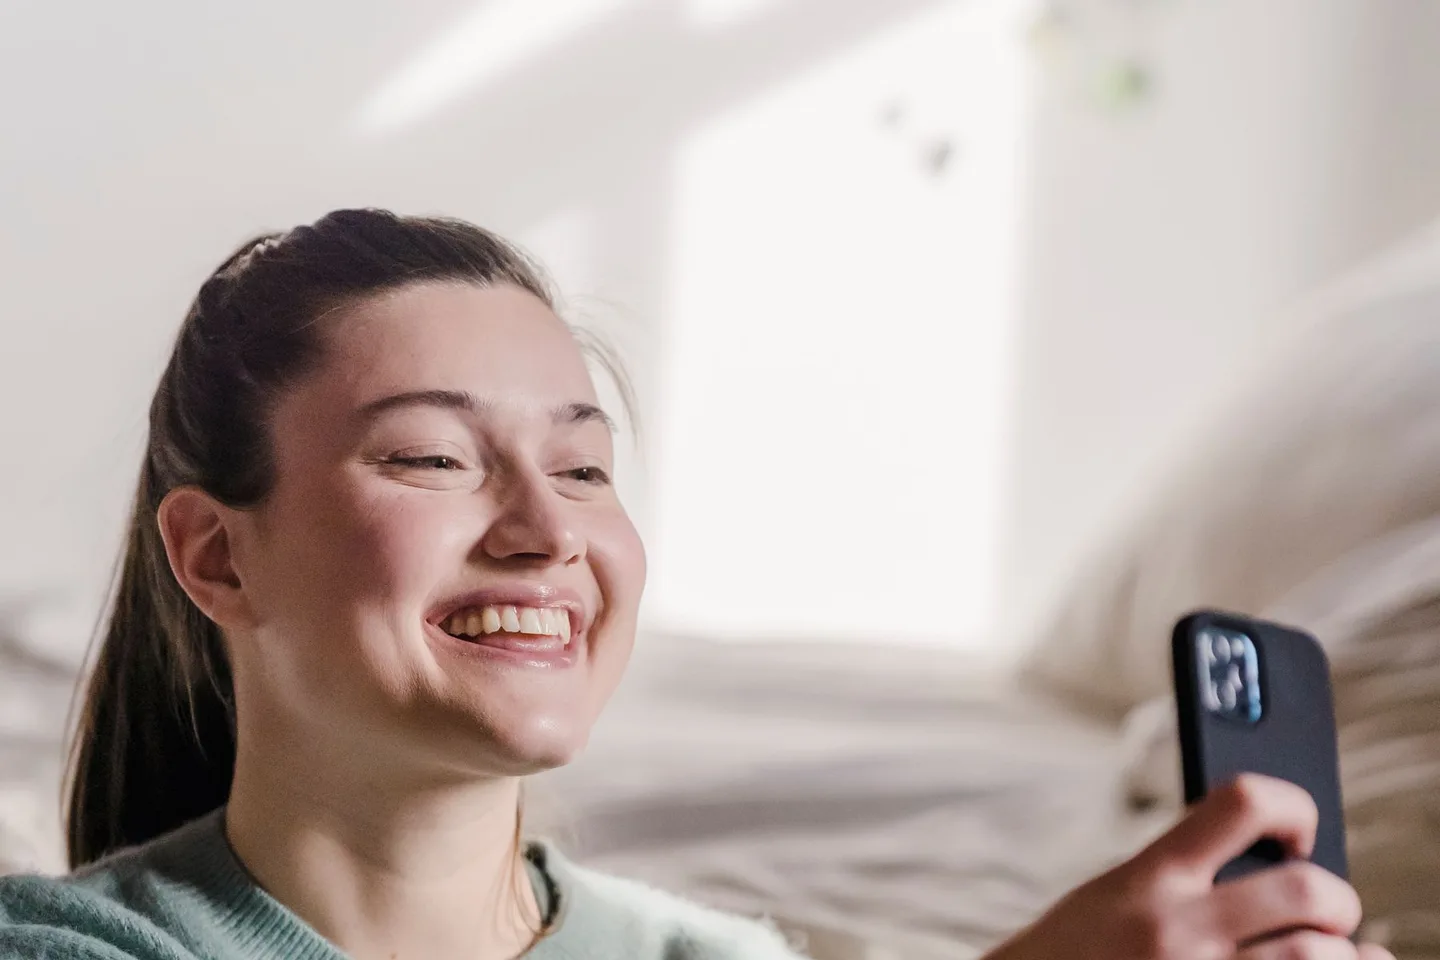
Photo quality has more influence on the first fit than many people expect. Use soft, even light from the front, face the camera directly and show the teeth with a comfortable smile. Keep the phone near eye level and far enough away that the centre of the face is not exaggerated by a very close camera position.
Avoid beauty filters, portrait effects around the lips, direct flash glare and screenshots of compressed photographs. Include the full face when possible: a smile is judged in relation to the eyes, lips and facial proportions, not as an isolated row of teeth.
- Use the original image file rather than a screenshot.
- Keep both eyes, the full mouth and the chin visible.
- Make sure the lip and tooth edges are sharp when briefly zoomed in.
- Take two or three relaxed versions and choose the clearest one, not the widest smile.
- Retake the photo if the automatic fit reports low confidence rather than forcing a dramatic correction.
A five-step workflow for a more believable preview
The easiest way to make a simulator look artificial is to change everything at once. Use the sequence below so that each saved version answers one clear question.
- 1. Fit: align the dental midline, smile width and tooth edge with the photograph before changing style.
- 2. Proportion: adjust overall height and width gently; keep the central teeth visually important without making every tooth identical.
- 3. Shape: compare two tooth-shape directions while keeping the same shade.
- 4. Finish: move from a warm natural direction toward brighter white only after the geometry feels believable.
- 5. Compare: save two or three concepts, drag across the before-and-after view, then look at the full face at normal size.
How to compare tooth shape without losing personality
Tooth shape can change the emotional impression of a smile even when colour stays the same. Rounded corners and softer transitions may feel gentle; straighter edges and more defined corners can feel graphic. Tapered shapes narrow toward the gum, while broader forms can create a stronger front-tooth presence.
These are visual tendencies, not rules about age, gender or the 'right' face. The better comparison is personal: does the design look harmonious when you stop staring at the teeth and look at the expression as a whole?
Avoid turning all visible teeth into the same rectangle. Natural smiles normally show different visual roles for central incisors, lateral incisors and canines. Small variations in height, curvature and edge character help prevent the simulated layer from appearing like one continuous white strip.
Why the whitest version is not always the most useful
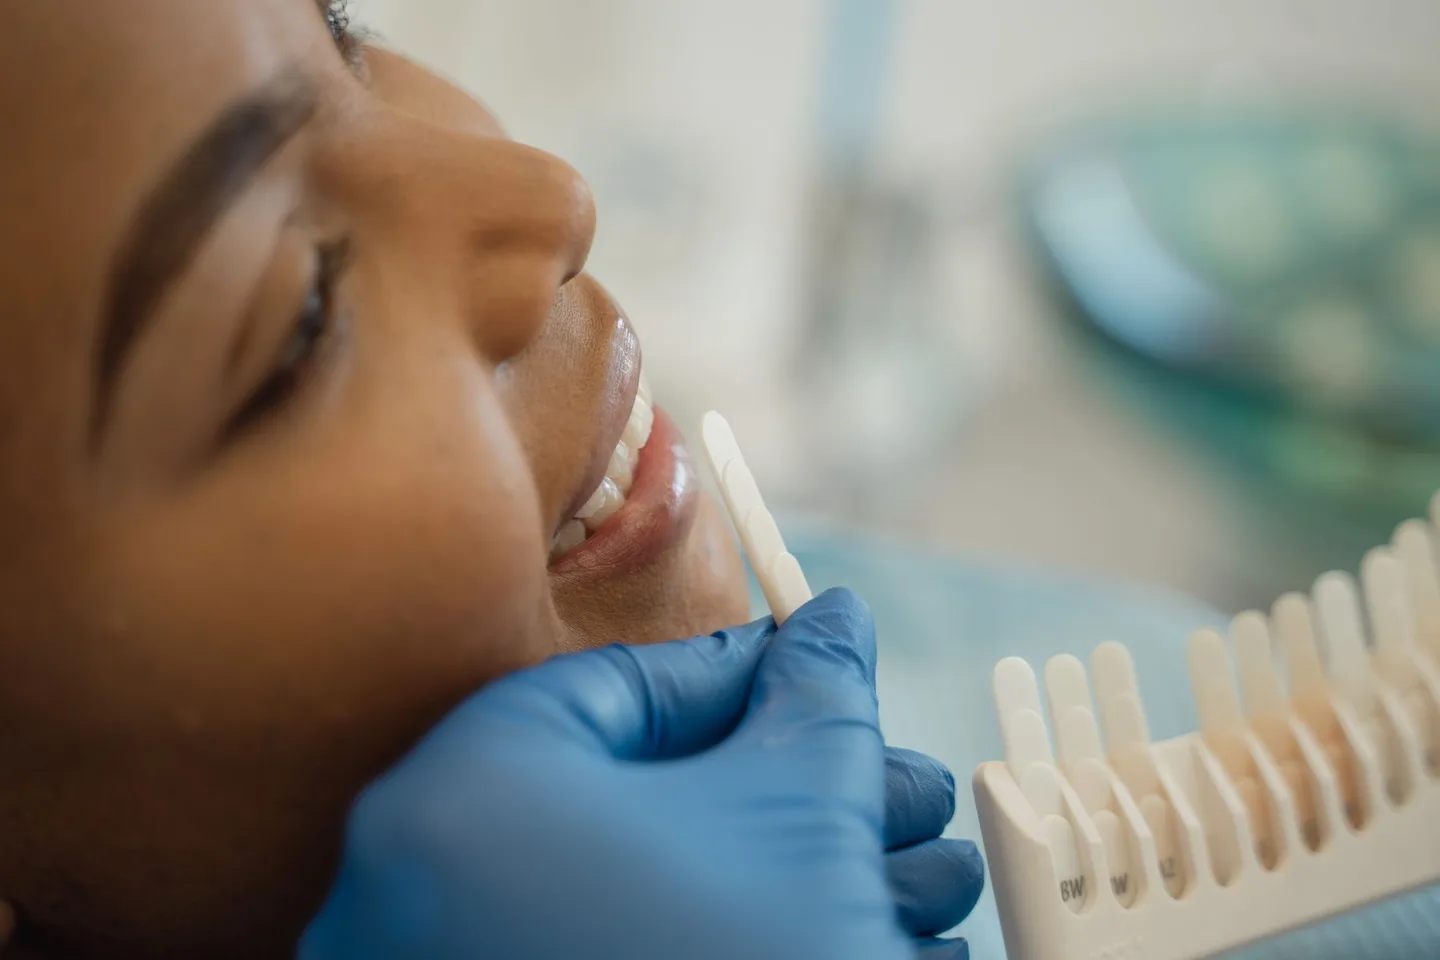
A display cannot reproduce the way enamel, composite or ceramic responds to real light. Screen brightness, camera exposure, room lighting, skin tone, lipstick and image compression all influence the apparent shade.
Start with a warm natural or natural white direction, then create one brighter comparison. Keep some surface texture, edge translucency and definition instead of using a flat opaque white. If the teeth pull attention away from the eyes when the image is shown at normal size, the simulation may be too bright or too uniform for the look you want.
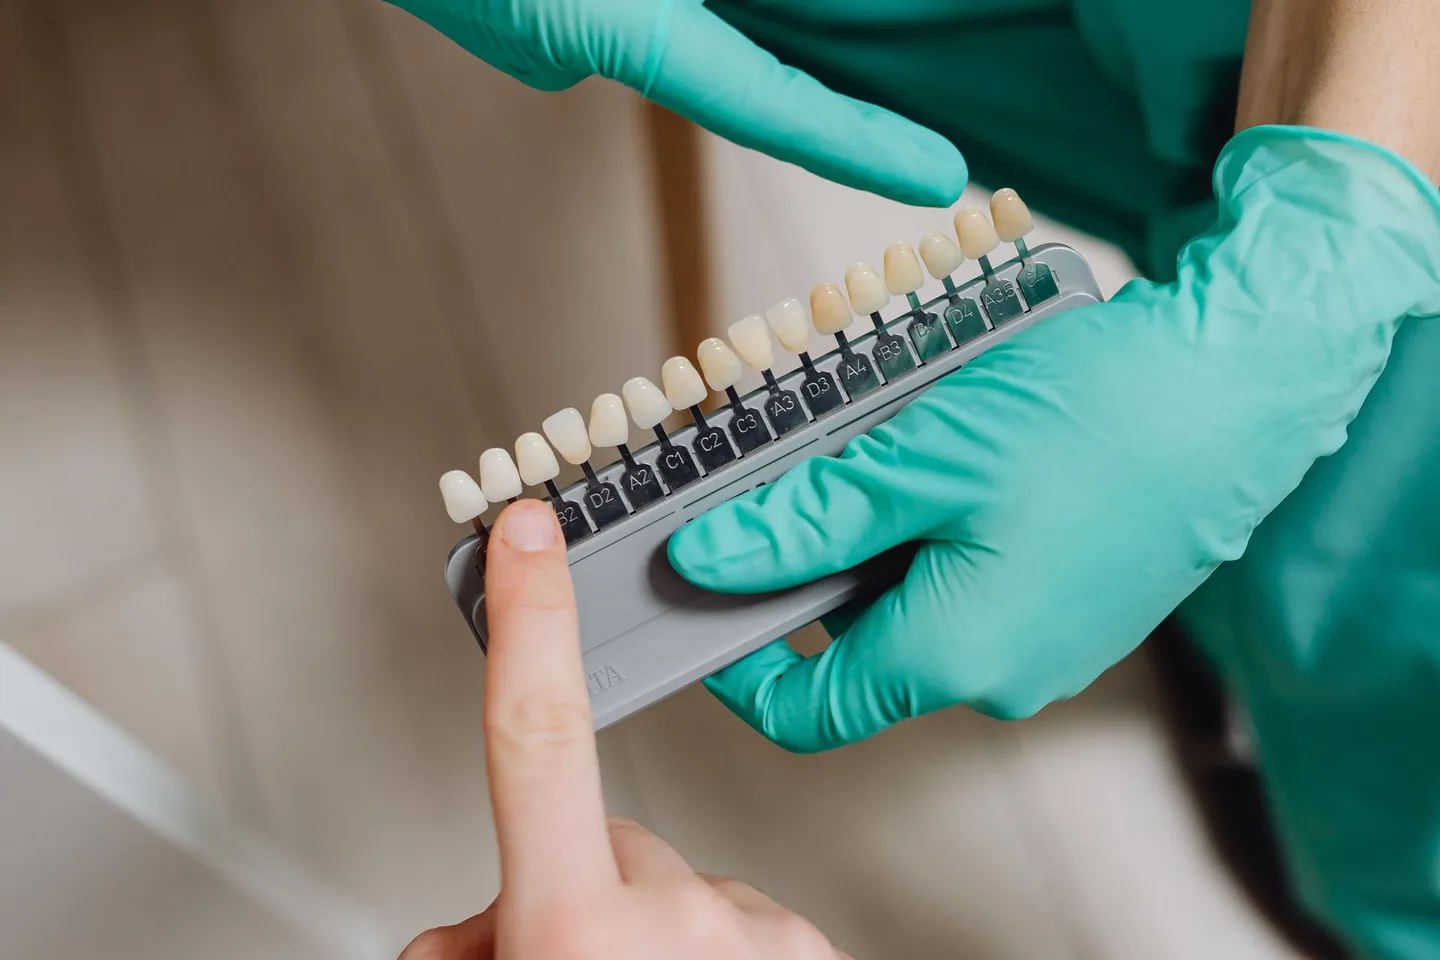
Do not treat labels inside a simulator as clinical shade prescriptions. A dentist or dental technician can compare physical shade samples and relevant materials under suitable lighting; the screen image is best used to communicate a range or direction.
What a teeth simulation cannot tell you
A realistic image can feel persuasive, but realism is not clinical evidence. A front-facing photograph cannot show decay between teeth, enamel thickness, tooth roots, gum and bone condition, available restorative space, bite forces or how the smile behaves during speech and chewing.
The American Dental Association explains that radiographs can reveal disease and damage that are not visible in a regular examination, and that imaging decisions should follow an individual clinical examination. If even diagnostic radiographs are not sufficient on their own, a cosmetic face photograph clearly cannot establish a diagnosis or treatment plan.
Use the simulator as a preference reference. If you are considering whitening, bonding, veneers, orthodontics, implants or a full-smile restoration, take the original and the saved concepts to an appropriately qualified dental professional for an individual assessment.
Privacy: know when your photo leaves the device
A face photograph is personal data. For a normal Try a New Smile session, the photo analysis and first visual design run in the browser, and saved drafts stay on that device. No account is required for the basic studio.
Downloading an image keeps the result with you. Creating a temporary A/B voting link is different: two preview images are uploaded only after you choose the sharing feature and give explicit consent. Treat any public-by-link image as something that could be forwarded, and avoid including information you do not want others to see.
Before using any smile app, check whether the original photo is uploaded, how long files are retained, whether a deletion option exists and whether images may be used for model training or advertising. A clear privacy explanation is part of a responsible simulator experience.
How to use the result in a dental conversation
Bring the untouched image, the version you prefer and one version you rejected. The contrast often communicates more than a single perfect-looking concept. Note which control changed in each version so the discussion can separate shape, proportion, shade and the amount of visible change.
Ask which parts of the preference could be tested with photographs, digital records or a physical mock-up, and which questions require examination or imaging. If treatment is being considered, discuss benefits, limitations, alternatives, maintenance and the effect on natural tooth structure separately from the aesthetic image.
- Which parts of this concept are visually helpful, and which are not realistic for my case?
- Would a temporary or physical mock-up differ from the flat photo simulation?
- What health, bite or material factors could change the proposed appearance?
- Can we test a conservative option before making an irreversible decision?
- How will the result be evaluated in daylight, speech and a natural smile—not only in a close-up?
Sources and further reading
These independent clinical resources were used to check the health information in this guide.
Frequently asked questions
Is this teeth simulator really free?
Yes. The basic Try a New Smile browser studio can be used without an account. Optional professional services outside the simulator are separate.
Does a teeth simulator use AI?
Different products use different methods. Try a New Smile uses local landmark analysis to help position an editable 2D dental design; it is not an AI diagnosis tool and does not automatically decide treatment.
Can I see what I would look like with veneers?
You can explore a veneer-style visual direction by comparing tooth shape, visible count, proportion and shade. The image cannot determine whether veneers are suitable or predict a clinical result.
Can the simulator whiten my teeth in a photo?
It can preview broader shade and brightness directions in the visible design. Screen colour is not a clinical shade match and cannot predict a whitening or restorative result.
Why does my simulated smile look fake?
Common causes include a tilted or close-range photo, poor lip alignment, excessive width or height, identical tooth shapes, flat opaque white and changing too many controls at once. Retake the photo and begin with a subtle preset.
Can a teeth simulation replace a dentist consultation?
No. It is a communication and preference tool. Diagnosis, suitability, treatment options and expected outcomes require an individual assessment by an appropriately qualified professional.
Does my photo stay private?
The basic simulation and saved drafts run locally in your browser. A temporary A/B voting link uploads two preview images only after you select that feature and consent to sharing.