Important: This guide explains visual simulation. It does not diagnose a condition or recommend treatment.
Key takeaways
- In the simulator, 4, 6, 8, 10 or 12 describes the width of the visible design layer—not how many real teeth should be treated.
- The number of teeth visible in a smile changes with lip movement, smile intensity, camera angle and the individual face.
- Compare counts fairly by keeping the same photo, tooth shape, shade, width and height while changing only the visible count.
- A real veneer decision requires examination of each tooth, the gums, enamel, existing restorations, bite, habits and conservative alternatives.
The short answer: preview a range, do not choose treatment from a photo
There is no universal number of veneers that creates a complete or natural smile. One person may show mainly the front teeth in a relaxed smile, while another shows teeth farther around the arch when laughing. The condition and colour of the teeth that remain untreated also affect how a narrower or wider design looks.
Try a New Smile lets you display 4, 6, 8, 10 or 12 veneer-style teeth so you can compare the visible width of a concept. That setting is deliberately visual. It does not inspect enamel, decay, fillings, gum health, bite forces or tooth position, and it cannot decide whether veneers are appropriate.
The useful outcome is a preference statement—for example, 'I prefer the wider concept because the colour transition is less visible in my photograph.' A dentist can then examine whether that preference is feasible, whether fewer teeth could be treated and whether whitening, bonding, orthodontics or no treatment would preserve more natural tooth structure.
What 4, 6, 8, 10 and 12 mean inside the simulator
The count control expands a centred design outward from the front of the smile. It changes how many template teeth are visible and also adjusts the overall visual span so that the concept can be fitted to the photograph. It does not label particular natural teeth for treatment.
Use the descriptions below as visual comparisons, not clinical packages. Real tooth numbering, individual anatomy and the final treatment plan may not match a flat front-photo overlay.
- 4 visible teeth: a narrow front-centred concept. It makes the transition to untreated side teeth especially easy to notice in a broad smile.
- 6 visible teeth: a slightly wider concept that brings the canine region into the visual comparison.
- 8 visible teeth: a broader smile-zone concept that can help you judge how colour and shape continue toward the sides.
- 10 visible teeth: a wide concept for photographs in which more of the upper arch is visible.
- 12 visible teeth: the widest design available in the tool. It is not a suggestion to place 12 restorations and should not be described as a full-mouth plan.
Why the number of visible teeth differs from person to person
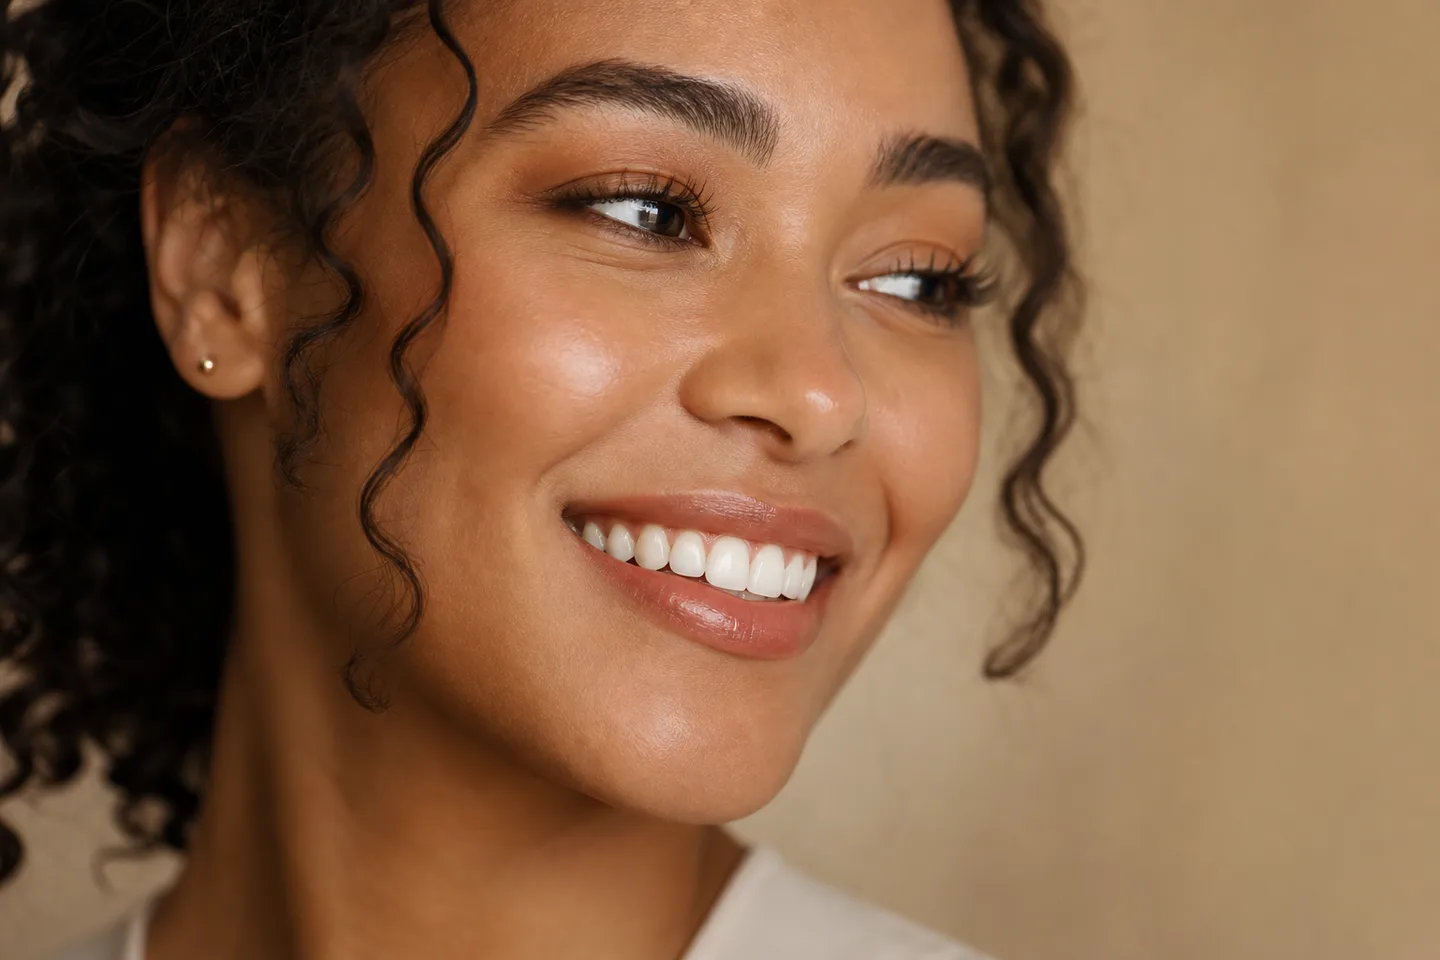
A smile is dynamic. The lips move differently in a posed smile, an unplanned laugh and speech. Head position, camera height, focal length and how close the phone is to the face can also change the apparent width of the dental arch. One selfie is therefore not a reliable count of every tooth that matters aesthetically.
Clinical photography studies record variation in smile width, smile line and the number of maxillary teeth displayed. Research has also found associations between visible tooth display, age and sex in the populations studied. Those findings describe groups; they do not establish an ideal number for an individual.
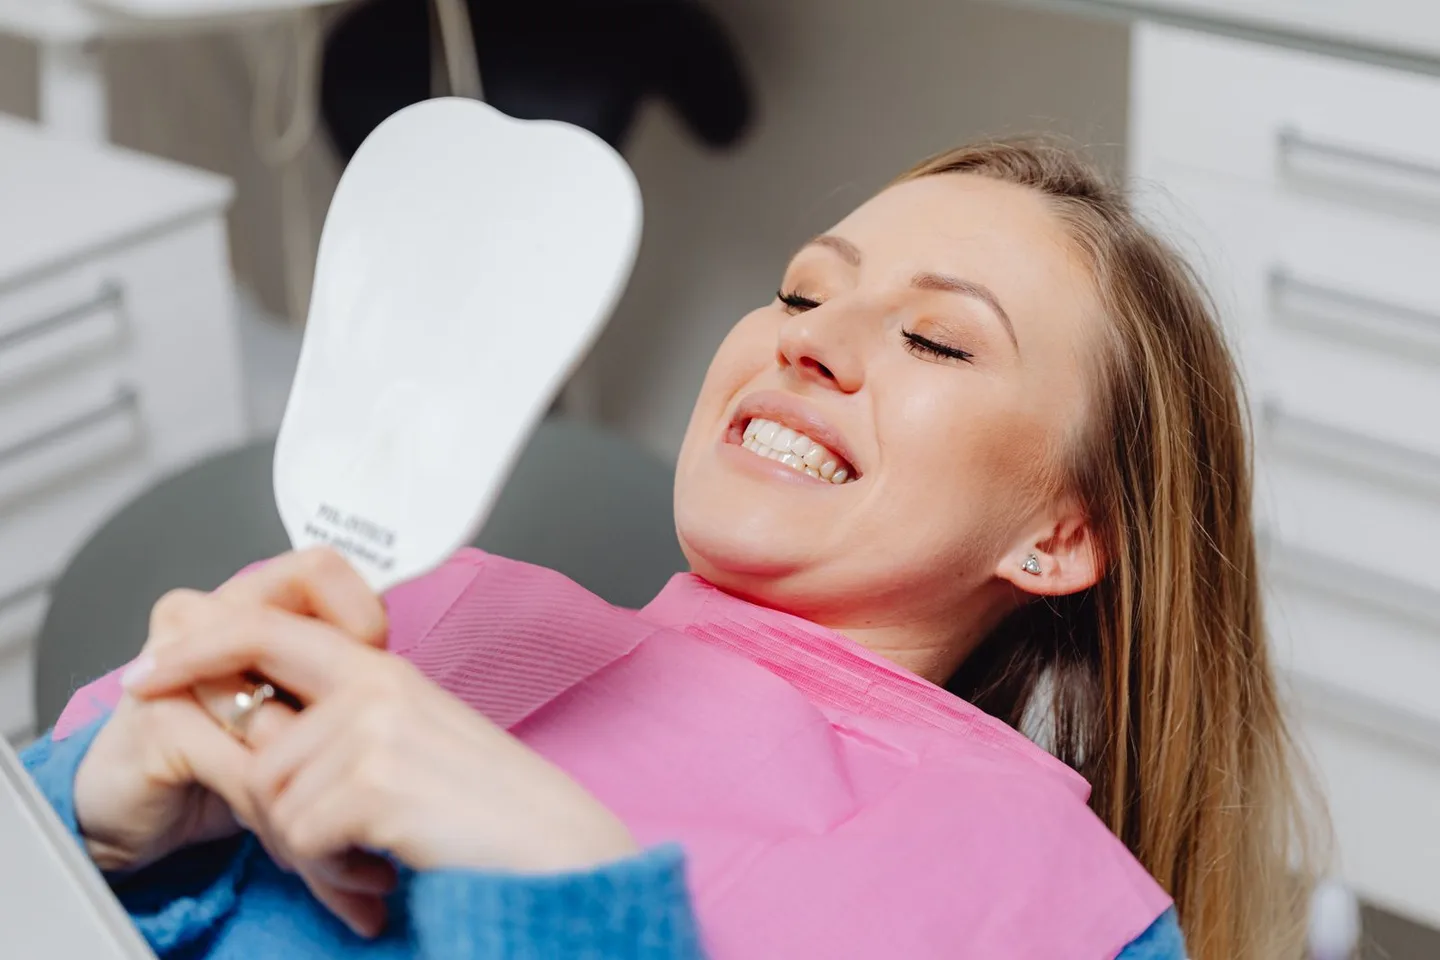
Use a relaxed tooth-showing smile first, then take a second photograph with a broader natural smile. If the side teeth appear in one image but not the other, keep both for a professional discussion rather than choosing a restoration count from whichever picture looks more dramatic.

The transition at the edge of a veneer-style concept
When a digital concept stops near the centre of a wide smile, the neighbouring natural teeth may show a sudden difference in colour, width, surface texture or alignment. Expanding the visual count can make that transition less obvious in the image, but it does not prove that more real teeth should be prepared.
A professional may be able to manage a transition in other ways. Untreated teeth might be whitened before final shade selection, a small area might be restored with composite, tooth position might be addressed orthodontically or the planned ceramic could be made less uniform. In another case, the safest choice may be to accept a visible difference or avoid cosmetic treatment.
Do not change count and shade at the same time. A wider concept often looks more continuous simply because more of the photograph has been recoloured. Keep the same shade and shape while testing width, then make a separate colour comparison after the geometry is stable.
Why a wider digital design is not automatically a better smile
A very wide design can look polished because it removes more natural variation from the photograph. That visual uniformity can also make the result less personal. Natural smiles normally contain differences in tooth role, edge shape, reflection, translucency and the way the arch turns away from the camera.
Judge the full face rather than counting white teeth. Look first at the expression and eyes, then notice whether the smile feels integrated. If the designed teeth become a continuous bright band, reduce brightness, restore texture and check the perspective before assuming that the count is the problem.
The broadest setting is useful as an intentionally strong comparison. It helps reveal whether you prefer a narrow change, a wide makeover or something between them. It should not be presented as the premium or complete option.
What determines a real clinical veneer count
A clinician needs to assess the reason for considering treatment and examine every tooth that might be involved. Veneers cover the front surface of teeth, and conventional treatment can involve removal of enamel. The American Dental Association notes that treatment is not reversible when enamel is removed, which is why a photographic preference cannot establish a treatment plan.
Published reviews describe factors that can affect veneer suitability, including the amount and quality of enamel available for bonding, tooth position, existing restorations, gum and soft-tissue health, available space, bite relationships and parafunctional habits such as grinding. The relevance of each factor varies by person and material.
The most conservative plan is not always the smallest number shown in an advertisement. It is the plan that addresses the actual problem while avoiding unnecessary irreversible treatment. That could mean one restoration, several restorations, a different treatment, combined treatment or no treatment.
- Which teeth are visible in relaxed smiling, broad smiling and speech?
- Which teeth are healthy and aesthetically acceptable without a restoration?
- Could whitening reduce a colour transition before restorative shade selection?
- Could bonding, orthodontics or selective contouring address the concern more conservatively?
- Are there fillings, cracks, wear, decay or gum problems that change the options?
- How do the bite and habits such as clenching or grinding affect material choice and risk?
- What maintenance, repair and replacement should be expected over time?
How to compare veneer counts fairly in Try a New Smile
A controlled comparison changes one variable at a time. Begin with a clear front-facing photograph, complete the automatic fit and correct the midline, overall position, rotation and lip fit before judging the count.
Choose a restrained tooth shape and a warm-natural or natural-white shade. Save the first believable design, then create versions with different counts without changing tooth height, width, curve, spacing, brightness or finish. Return to normal full-face size after every version.
- Save concept A with 4 or 6 visible teeth as the narrow comparison.
- Save concept B with 8 visible teeth as the middle comparison.
- Save concept C with 10 or 12 visible teeth as the deliberately wide comparison.
- Use the before-and-after slider to check whether lips, skin and facial expression remain unchanged.
- Compare the side transition, not only the front two teeth.
- Download the original and all three concepts with clear labels.
- If desired, create a temporary A/B voting link only after reading and accepting the separate sharing consent.
Photographs that make count comparisons more useful
Use the original camera file in soft, even front light. Keep the phone near eye level, avoid a very close wide-angle selfie and include the full face. Beauty filters, portrait blur near the lips, direct flash and messaging-app compression can hide the edge where a narrow design meets the original teeth.
Take more than one expression. A relaxed broad smile is useful for the first simulation, while a short video of speaking and laughing can help a dentist see teeth that a single still image misses. The browser tool uses one photograph and cannot evaluate movement.
Do not use a retracted clinical close-up as the only aesthetic reference. It is useful for recording teeth, but people normally experience a smile in the context of lips, cheeks, eyes and changing expressions.
Bring a range to the consultation—not a demand for a number
A useful consultation set contains the untouched photograph, the narrow concept, the preferred concept and one deliberately wider version. Write down what you like and dislike about each. The contrast often communicates more than arriving with a single image labelled '10 veneers.'
Ask the clinician to explain which visible differences could be reproduced, which require another treatment and which would create unnecessary risk. Where appropriate, photographs, scans, diagnostic records and a physical or digital mock-up can provide information that a flat face photo cannot.
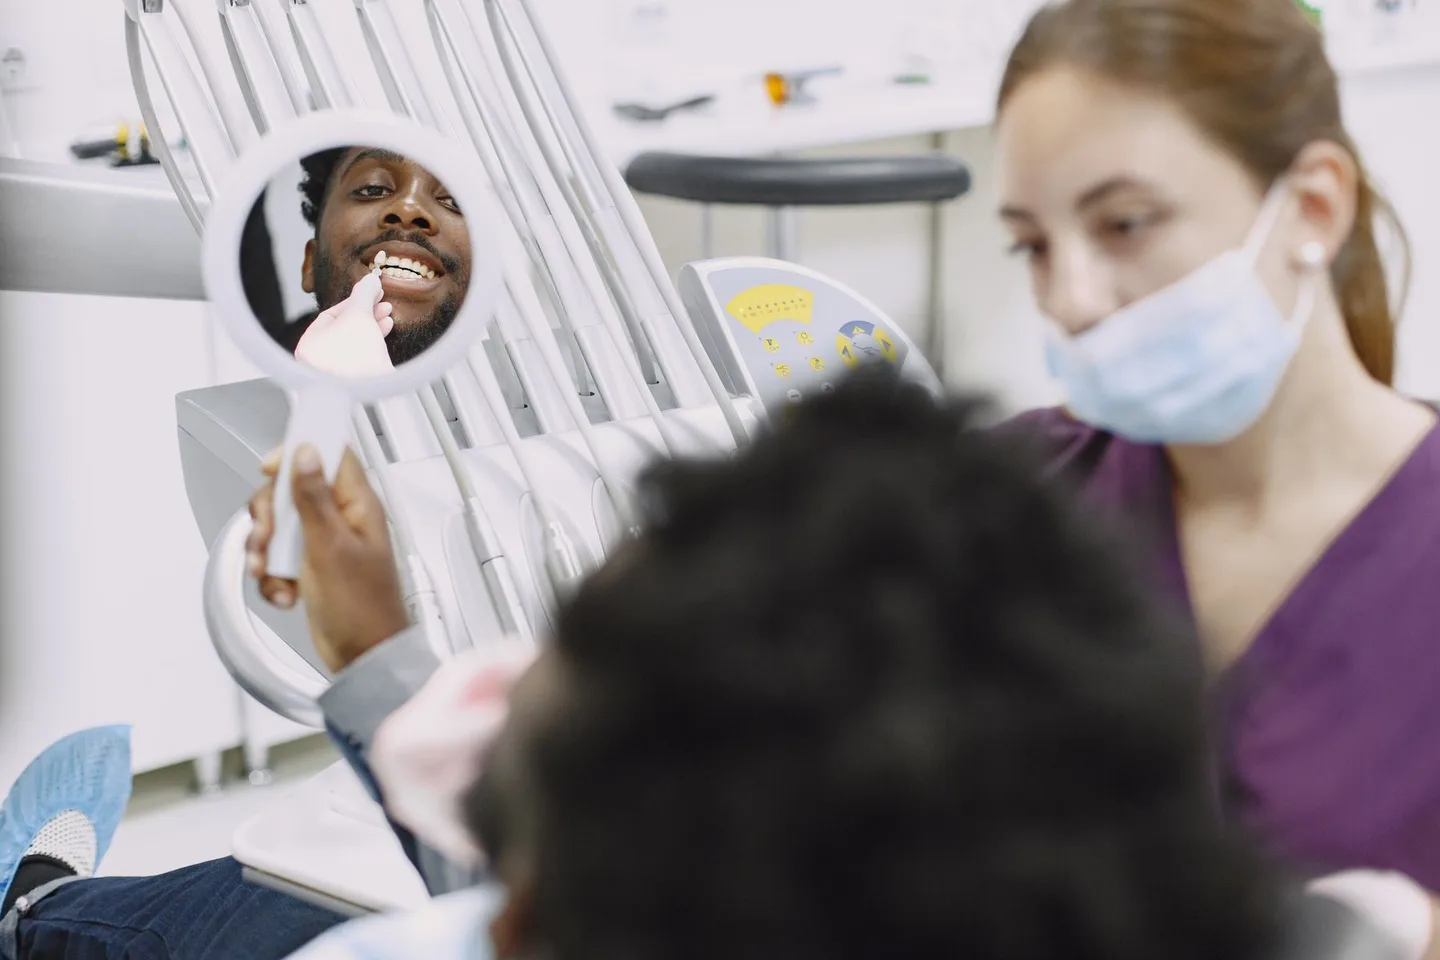
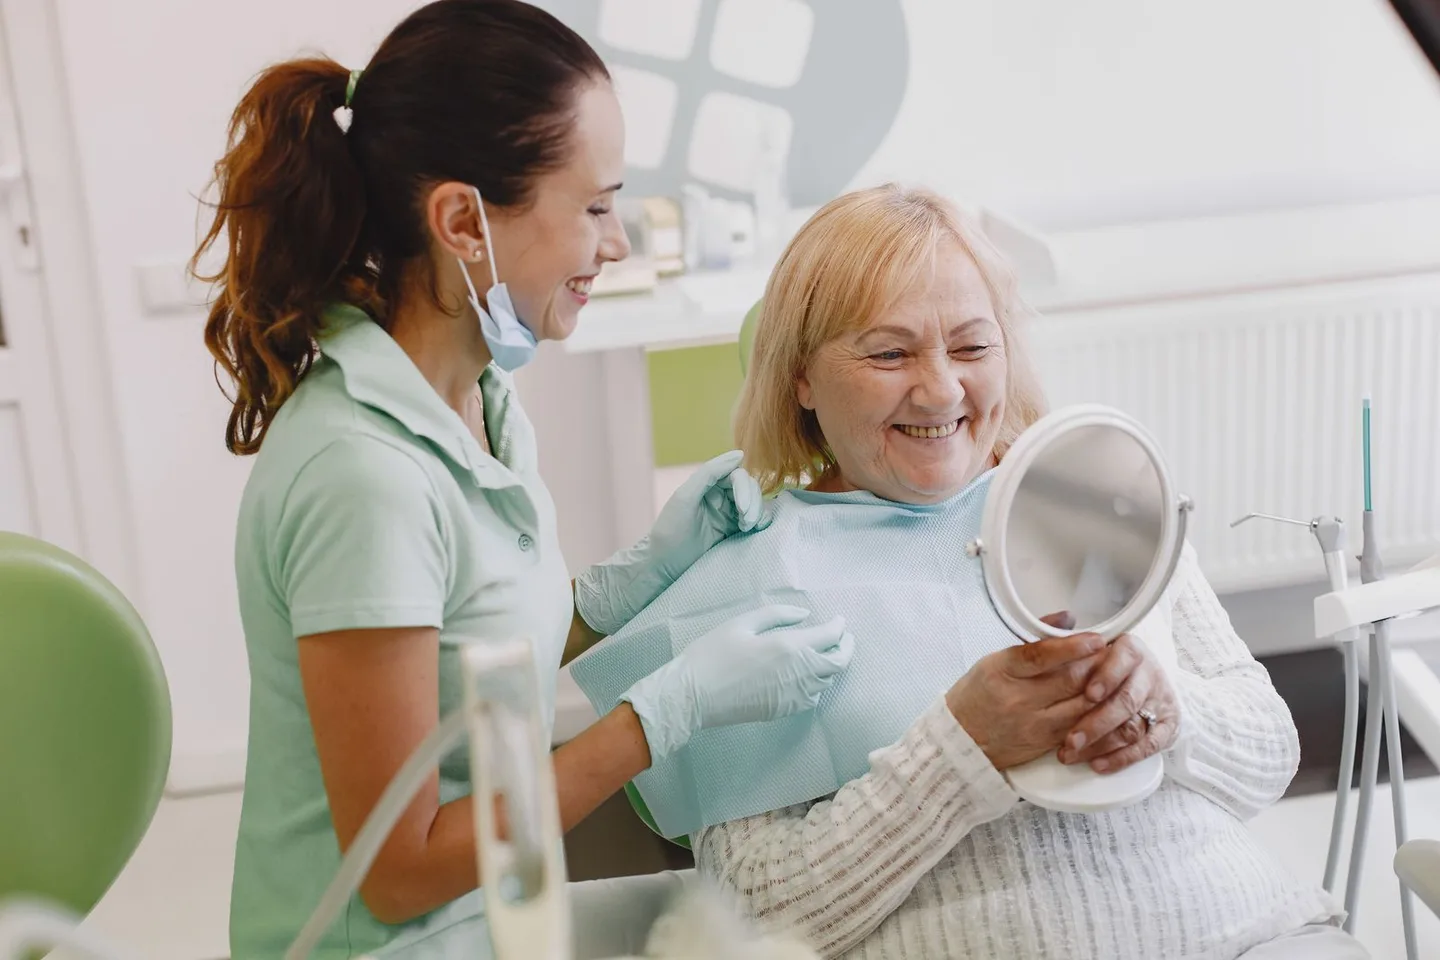
A mirror review with a qualified professional should return the conversation to your actual teeth. The image is a starting point for questions; the examination determines what is healthy, feasible and proportionate.
A practical decision record
Finish the exercise with a short record that separates preference from treatment. Note the photograph used, the visible count in each concept, the shape and shade kept constant and the reason you preferred one version. Also record any uncertainty—such as a side-tooth colour transition that changes between a relaxed smile and a laugh.
The best result is not a number. It is a clearer description of the visual problem and a better set of questions about conservative options, feasibility, materials and long-term care.
- My narrow comparison used: ___ visible teeth.
- My preferred comparison used: ___ visible teeth.
- The feature I preferred was: width, transition, proportion, shade continuity or another reason.
- The feature I did not prefer was: excessive width, uniformity, brightness or another reason.
- Questions for the dentist: alternatives, preparation, untreated teeth, material, bite, maintenance and mock-up options.
Sources and further reading
These independent clinical resources were used to check the health information in this guide.
- MouthHealthy by the American Dental Association: Veneers
- Cleveland Clinic: Dental veneers — procedure, benefits and risks
- NHS: Dental treatments, including veneers
- International Journal of Dentistry: Advances in dental veneers
- International Journal of Dentistry: Visible anterior teeth and smile characteristics
- BMC Oral Health: Maxillary midline, smile width, smile line and tooth shape
- The Angle Orthodontist: Using a maximal smile to evaluate dental and gingival exposure
Frequently asked questions
How many veneers do I need for a full smile?
There is no universal number. The teeth visible in your smile, the condition of each tooth, colour transitions, bite, goals and conservative alternatives all matter. A dentist must examine you before recommending whether any veneers are appropriate or how many teeth might be involved.
Are 4 veneers enough?
Four visible teeth can create a useful narrow simulation, especially for comparing the front of the smile. In real treatment, four may leave visible differences beside untreated teeth—or may be more treatment than needed. A photograph cannot decide.
What is the difference between 6 and 8 veneers in the simulator?
The eight-tooth setting expands the visual design farther toward the sides than the six-tooth setting. Keep shape, shade and proportions unchanged so you are comparing design width rather than several changes at once.
Do 10 or 12 veneers create a more natural result?
Not automatically. A wider digital layer may reduce visible transitions in a photograph, but it can also look too uniform. It does not establish that 10 or 12 real teeth should be restored.
Can I have a veneer on only one tooth?
Single-tooth veneers are possible in some clinical situations, but matching one restoration to neighbouring natural teeth can be demanding. The tooth, enamel, colour, bite and alternatives need individual assessment.
Do I need veneers on both upper and lower teeth?
Not necessarily. Upper and lower teeth should not be assigned the same treatment simply for symmetry. What shows in smiling and speech, tooth condition, colour and bite must be assessed separately.
Can a veneer count simulator tell me what a dentist will recommend?
No. It can compare the visible width of editable concepts in one photograph. It cannot examine teeth, gums, enamel, roots, bone, existing restorations, bite or habits.
Does Try a New Smile upload my photo to compare counts?
The basic analysis, design and local draft run in your browser. Two reduced preview images are uploaded only if you deliberately create a temporary 7-day A/B voting link and give separate consent.